
Having a Facebook Business page is a great way to reach new customers, engage with your current ones, show off your brand’s personality, and so much more. This step-by-step guide will show you exactly how to set up your page from start to finish.
One of the most common questions people have when they first decide to set up a Facebook business page is ‘how can I keep my personal profile and business page separate?’
When it comes to setting up a business page Facebook require you to set it up under a personal profile. Some businesses try avoid this by setting up fake Facebook profiles to link with the page, but this is something Facebook takes very seriously. If they find you’ve done this, they can deactivate both your account and business page.
Fortunately, even though your personal profile and business page are both connected, no one apart from you and the other page admins can see that connection.
Setting Up Your Page
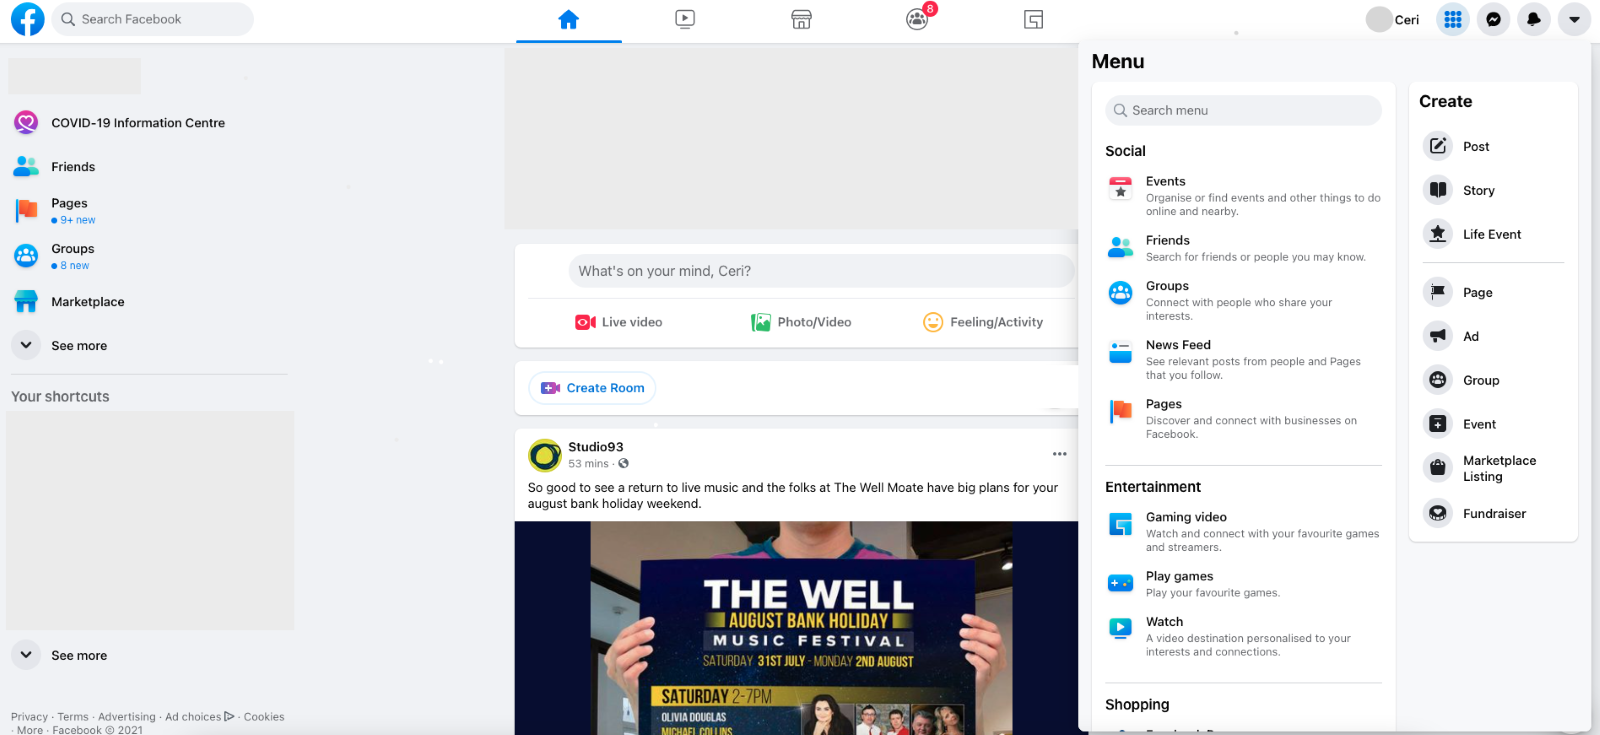
Log into your personal profile on Facebook and click on the first icon after your name in the upper right corner (the nine dot icon). Under the Create navigation list click on Page.
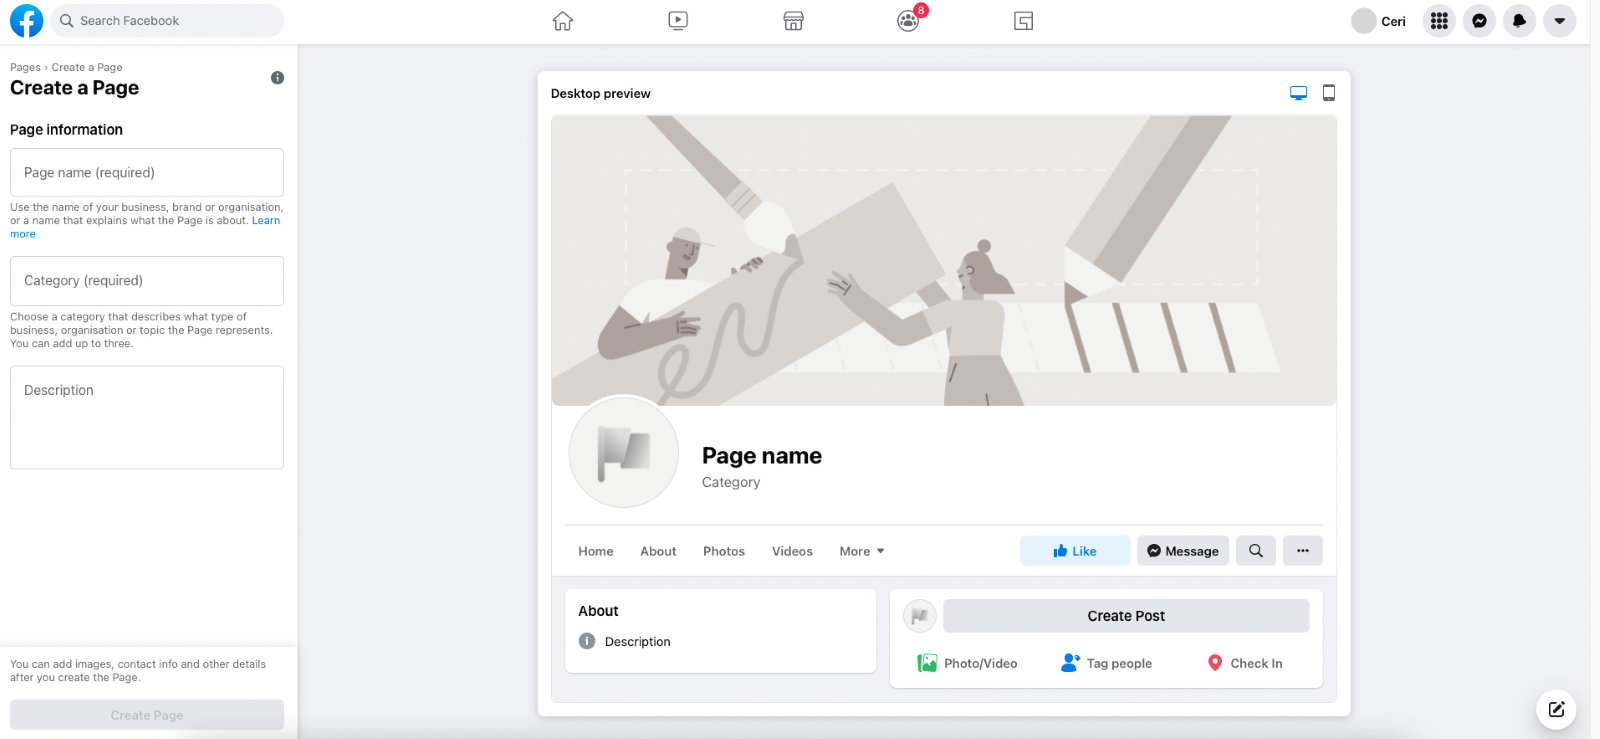
This will open up Create a Page. From here you’ll begin setting up your page by choosing your Page Name.
In the next field you’ll choose your Category. Try be as specific as you can with your category to help your business show up in more relevant searches. You can choose up to 3 categories.
The last field is where you’ll write a brief description of your business.
Once you finish filling out your page name, category, and description you can go ahead and click Create Page.
You’ll then be prompted to upload your profile photo and a cover photo. You can always choose to upload this later or change it. Just remember that your profile photo will be shown as a circle, so if you have a square logo resize appropriately to avoid it parts of it being hidden.
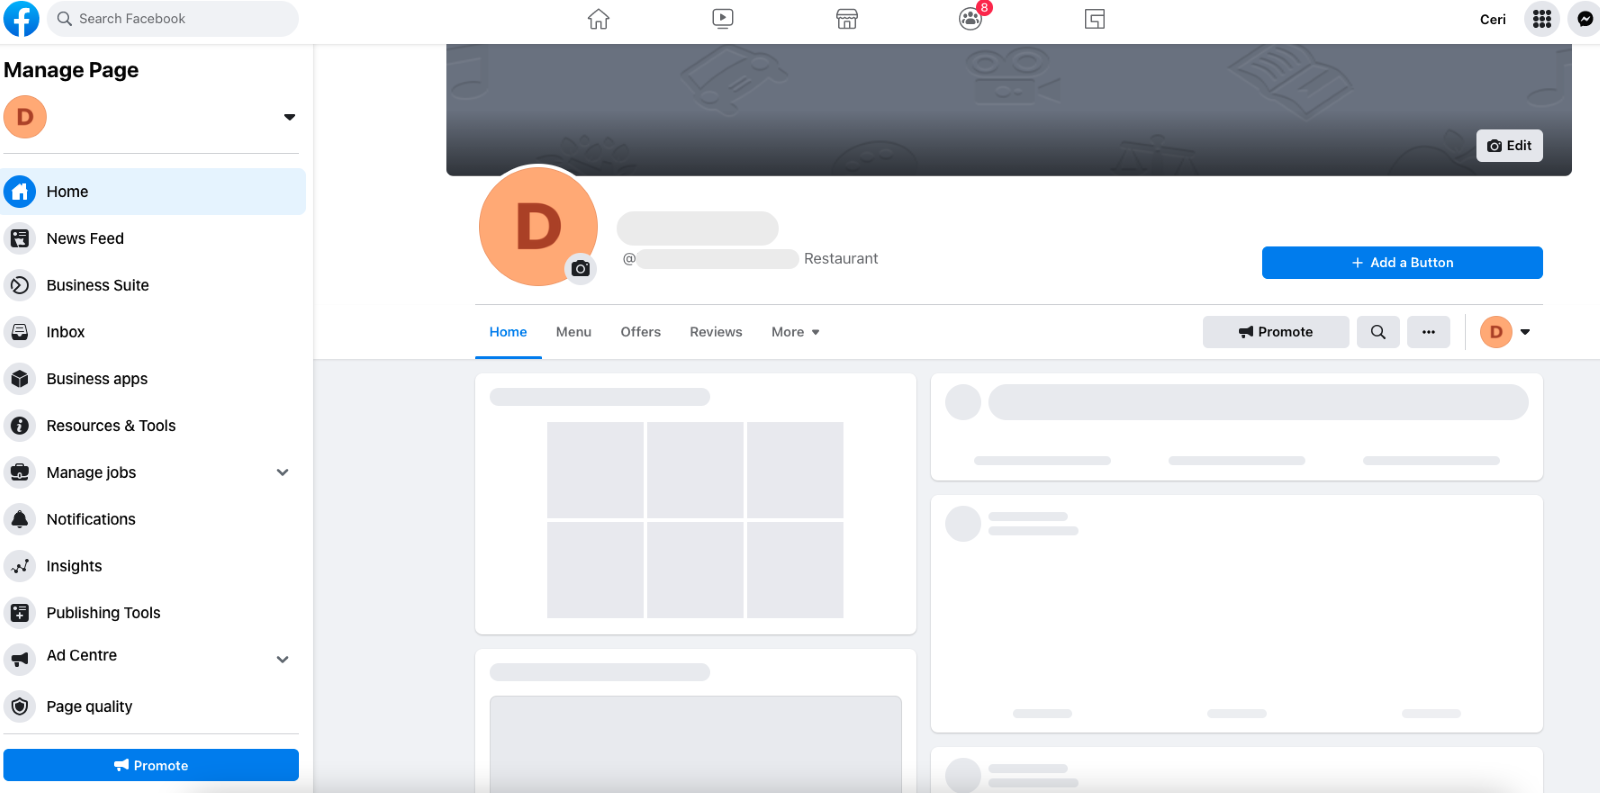
Now your page is created! However, you’re not done yet. This is where many people will finish, but there’s still a few things left to set up to complete your page.
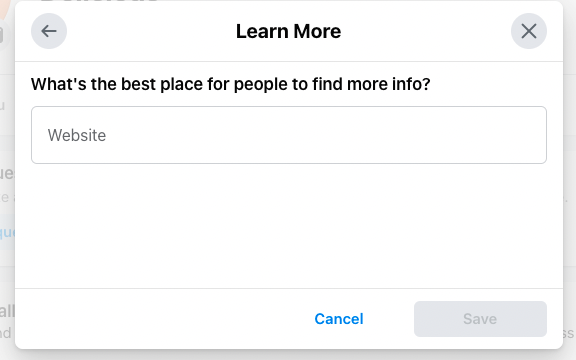
First, you’ll want to click on the blue ‘+ Add a Button’ to add a call to action to your page. A call to action is a prompt that tells the user what specific action you would like them to take. For example, ‘call now’, ‘learn more’ or ‘sign up’.
This will bring up the menu of action button options where you can choose the call to action that’s right for your business.
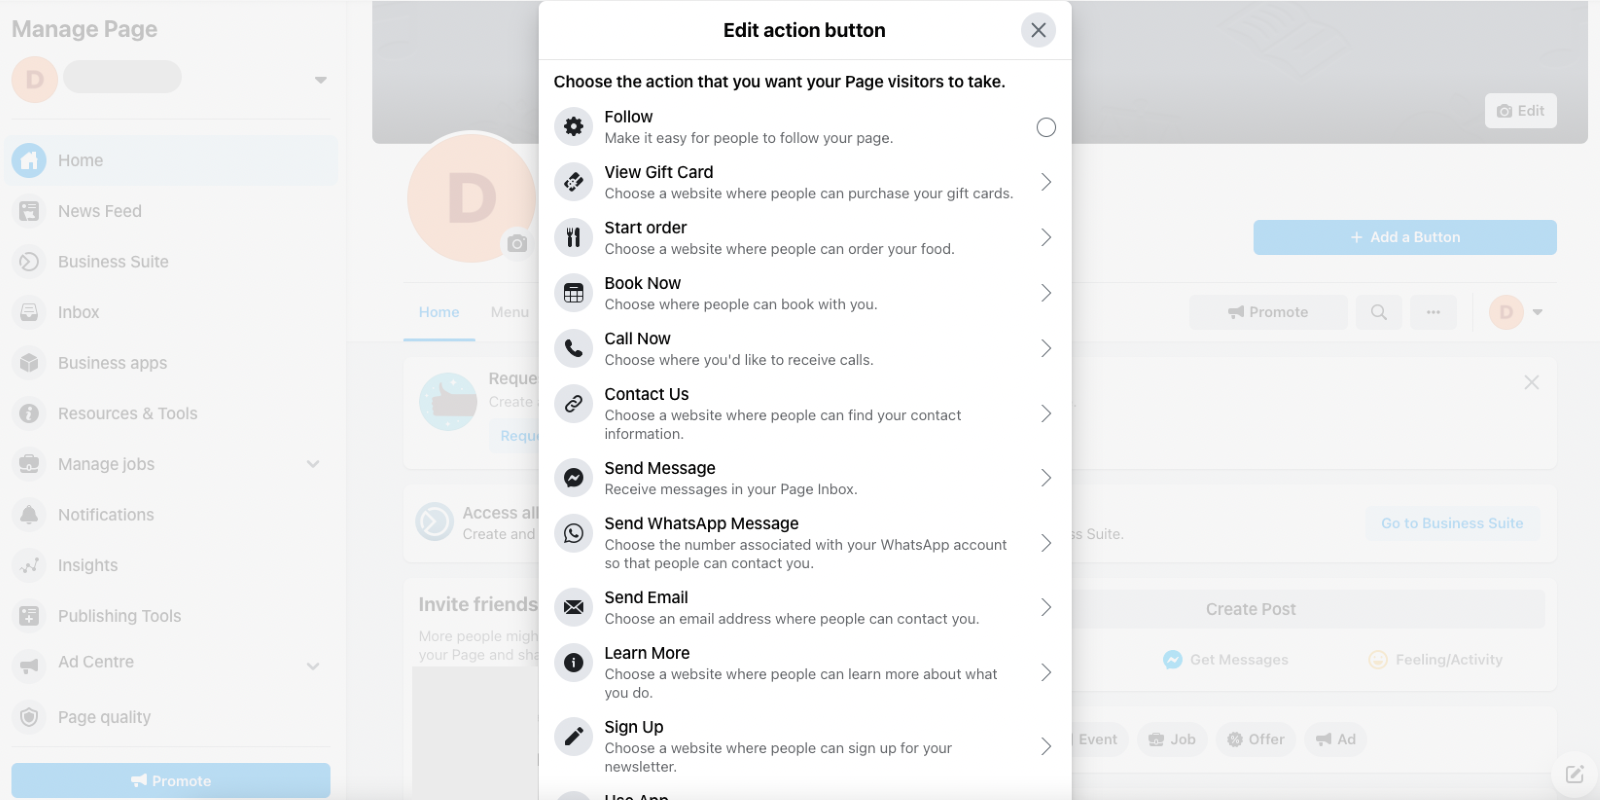
For example, if you want to send users over to your website to find out more about your business you might choose the ‘Learn More’ button. Fill in your website and click save and the button will be added to your page for you.
Next you will want to create a username for your business page. You can do this by clicking on the ‘Create @Username’ button below your Page name. Your username is how people can find you or tag you in posts.
Note: Sometimes Facebook won’t allow you to create your username and will present you with the error message “This Page isn’t eligible to have a username”. If you get this message, it means you’ll just need to grow your page a little more with likes and posts or even just let a little bit of time pass. You can try again after and it will work for you.
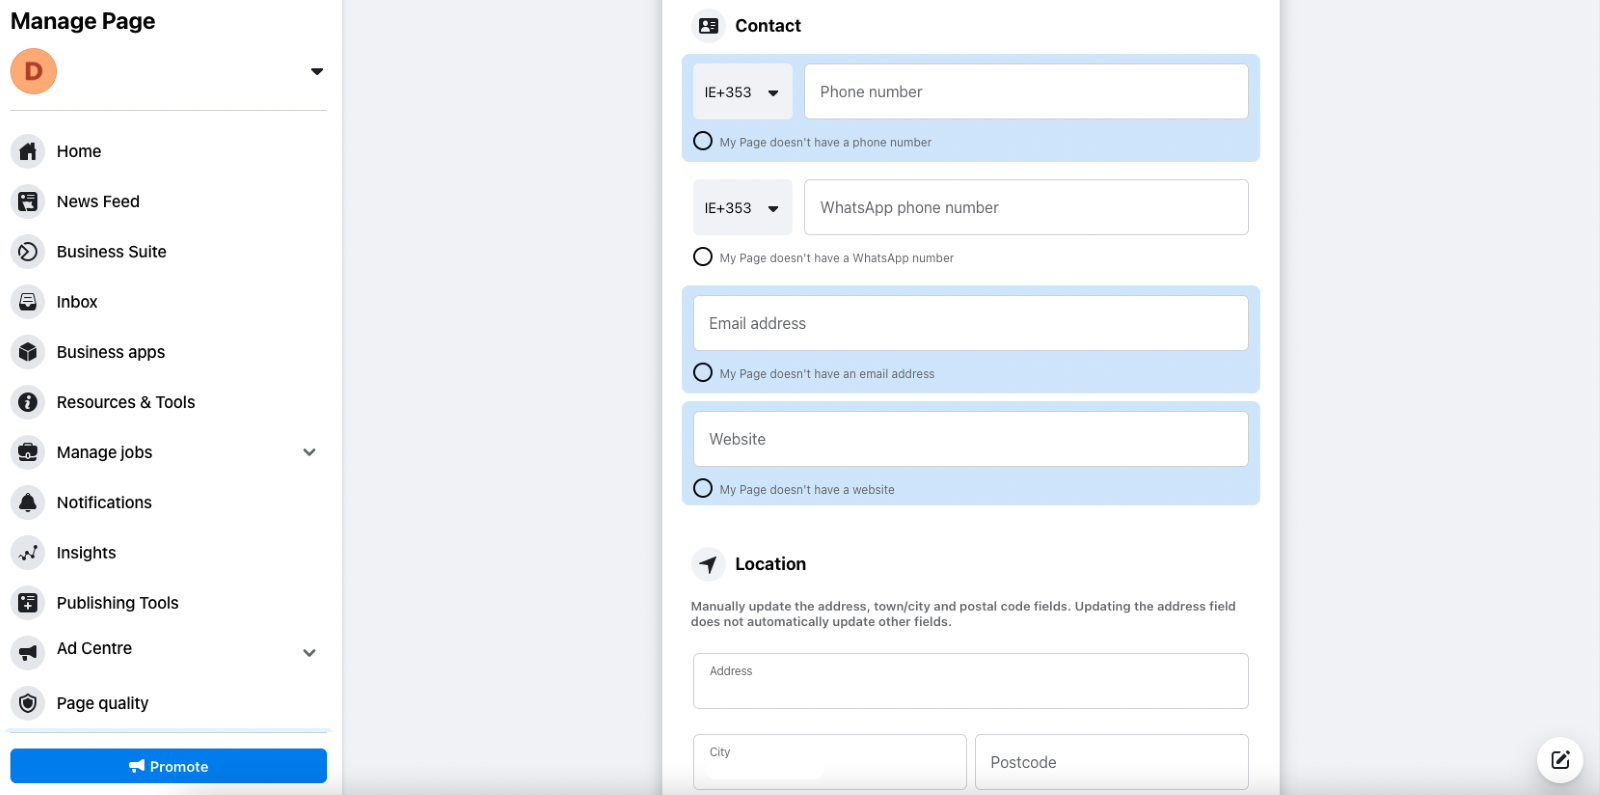
With your Home page finished you can now head to the Edit Page Info section in the left-hand navigation menu (highlighted in the below screenshot).
Here you will scroll down and fill out your Contact information, Location, Service Area, Hours, and all other relevant details.
Your Facebook Business Page is now ready to go! You can start posting content, inviting your friends and family to Follow the page, and more.
Adding Admins to Your Facebook Page
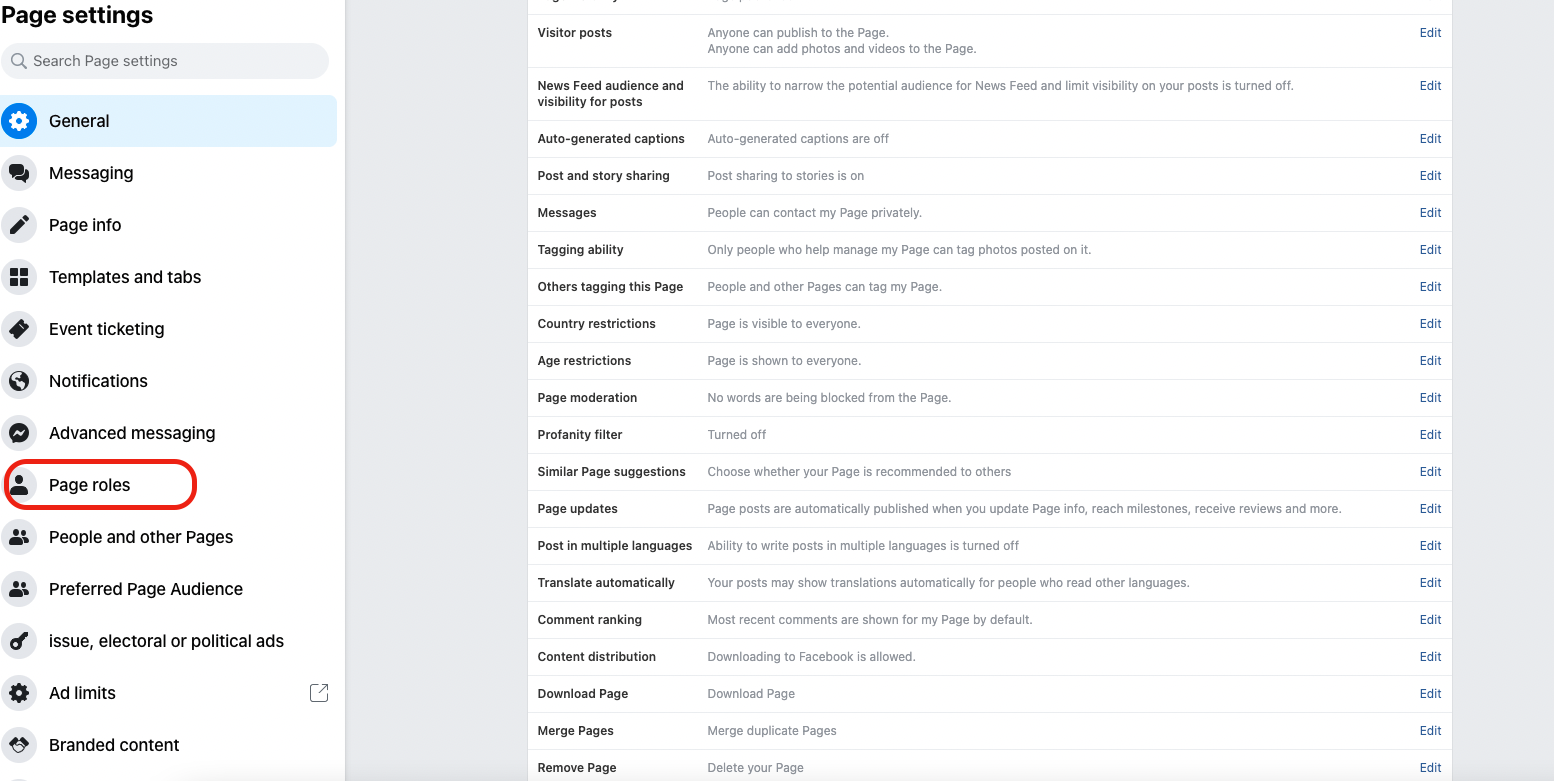
From your Facebook Business home page, you’ll first head to Settings in the left-hand navigation menu. This will open up the General settings page. On the new left-hand menu click on Page Roles.
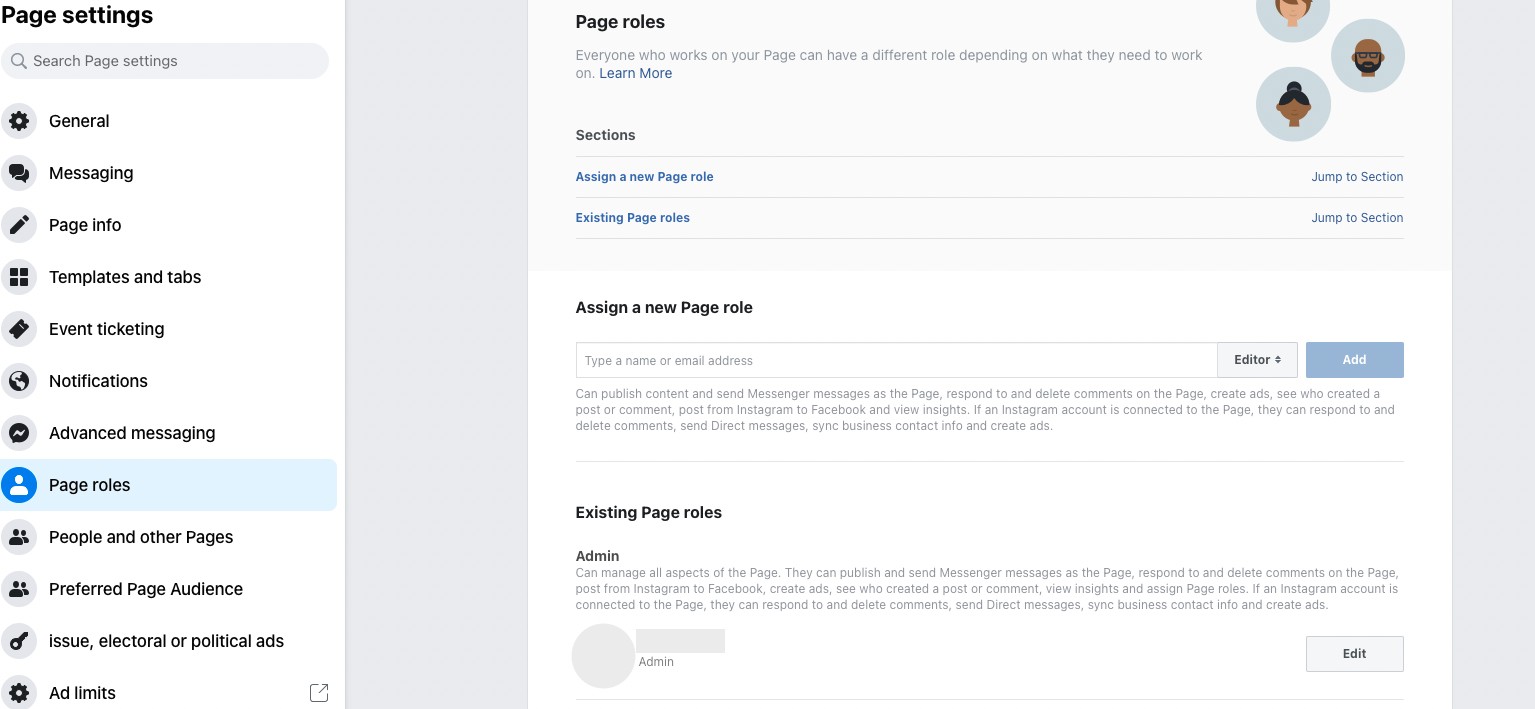
As an admin, in the Page Roles section you can add, remove or edit other admins, editor, moderators, advertisers, and analysts. To give someone access to the page you will first decide what level of access to grant them (admin being the highest) and then begin typing in their name or the email they have associated with their personal Facebook account. Be careful to add the right person.
The person will then receive a request on their personal profile and once they accept they will have access to the page.
Now that your Facebook business page is set up and ready to go you might enjoy checking out some of our social media resources on content ideas, Facebook ads, understanding insights, and more.